


The LAMP stack is a widely used open-source solution for hosting dynamic websites and web applications. CentOS 7 provides a stable and secure environment for deploying LAMP-based applications. This guide will walk you through the step-by-step installation of the LAMP stack on CentOS 7, ensuring a properly configured and optimized setup for your web server.
LAMP is an acronym for a popular open-source software stack for web development. The acronym stands for:
Linux: a free and open-source operating system.
Apache: a popular open-source web server software.
MySQL: an open-source relational database management system.
PHP: an open-source scripting language designed for web development.
The LAMP stack is a combination of these software components that work together to host dynamic web sites and web applications.
Following steps will shows you how to install a LAMP stack on a Virtual Private Server (VPS). In this scenario the virtual private server is already running CentOS 7, the Linux part is taken care of. Here is how to install the rest.
Installation Steps
The first and foremost task that we should perform is to update the latest packages. This can be achieved by an ‘update’ command that would take a few minutes to compile. ‘yum’ will automatically attempt to check all configured repositories to resolve all package dependencies during an installation/upgrade.
It is important to make sure that the latest software updates and bug fixes are installed. The command is as follows:
sudo yum update
Install Apache on a CentOS server
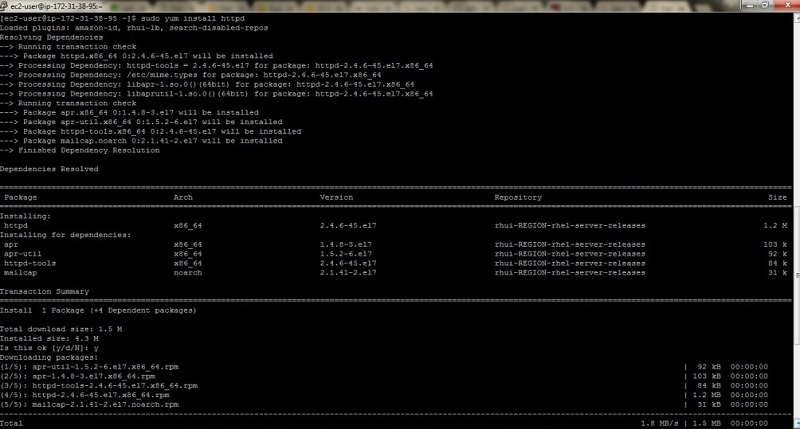
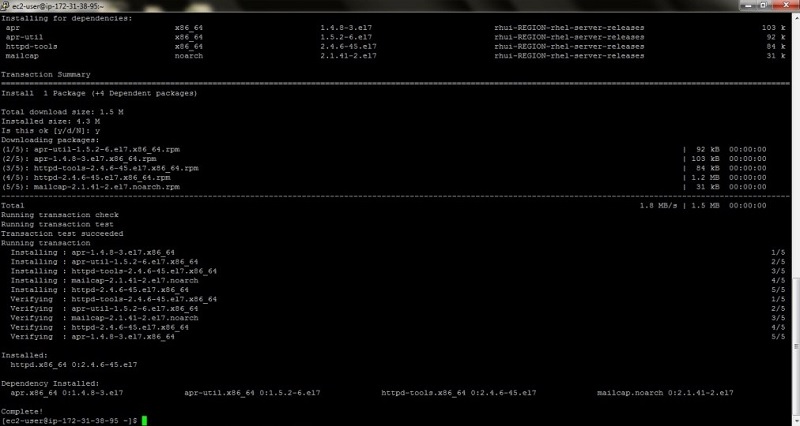
Type the following yum command to install Apache web-server:
The following output will be printed on screen
Start the httpd service on a CentOS 7
sudo systemctl start httpdCheck the httpd service status on a CentOS 7
systemctl status httpdOutput:
Note: The default configuration file is stored in /etc/httpd/conf/ as httpd.conf. The default log files are stored in /var/log/httpd/{access_log,error_log}
Test Apache:
Open your web browser and navigate to http://localhost/ or http://Your.server-ip-address/
Installation of MariaDB on CentOS 7 server
MariaDB is an enhanced replacement for MySQL server in CentOS 7 environment. MariaDB is developed by the community in true open source spirit. A secure and scalable database server for scale-up or scale-out deployments, built on a modern extensible architecture that supports innovation.
Install MariaDB
sudo yum install mariadb-server Press y when prompted to proceed with the installation.
Start MariaDB
sudo systemctl start mariadbSecuring MariaDB:
A secure installation can be performed in which the user can set a password for access to the database. It is done by the following command:
sudo /usr/bin/mysql_secure_installationAccessing MariaDB:
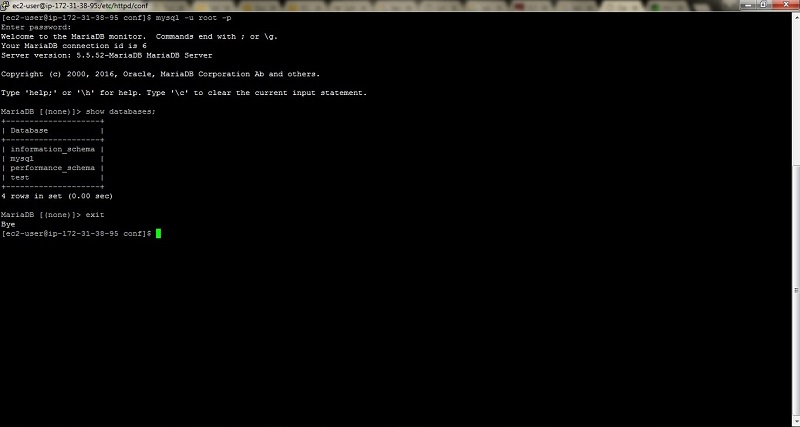
MariaDB can be accessed using the following command:
mysql –u root –pNote: The server will ask for a password, if not set it can be skipped by pressing the Enter key.
Installation of PHP on CentOS 7
PHP (Hypertext Preprocessor) commonly used open-source general purpose scripting language that is largely suited for web development. It can also be embedded into HTML.
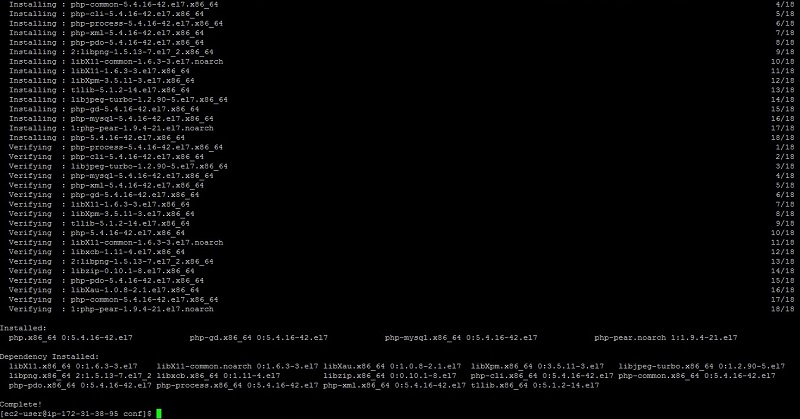
The installation of PHP and its modules is done using the following command:
Sudo yum install php php-mysql php-gd php-pear
The output is as follows:
After the installation of PHP the httpd (Apache) service must be restarted.
The command for the following is:
sudo systemctl restart httpd
Test PHP on the server
After installation of PHP on the server we must test if it’s functioning properly. Following are the corresponding steps:
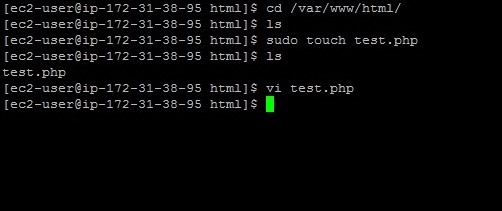
Create a file called /var/www/html/test.php
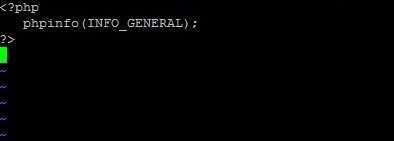
Save and close the file. Point your Web Browser to your server’s IP address such as http://xx.xx.xx.xx/test.php
Sample outputs:
