


With over 100 million users, the sandbox video game, Minecraft, has developed into a worldwide phenomenon over the past few years. People worldwide work meticulously on constructing blocks and exploring the open world of the game. Minecraft's popularity has remained high over the years. New developments that bring the game to more and more devices have helped it gain broad appeal.
The Bedrock Edition enables players to unite in the game world, regardless of the devices they're using. This means an Xbox gamer can join a PC gamer and a Nintendo Switch player in the same Minecraft game world.
The following article will see how to set up Minecraft Bedrock on a Windows Server 19 dedicated server.
System Requirement
Windows 2019 Server Edition (64 bit)
CPU: Minimum 2 Cores 1800 Mhz
Ram: 2 GB
Storage: 10 GB
Download setup
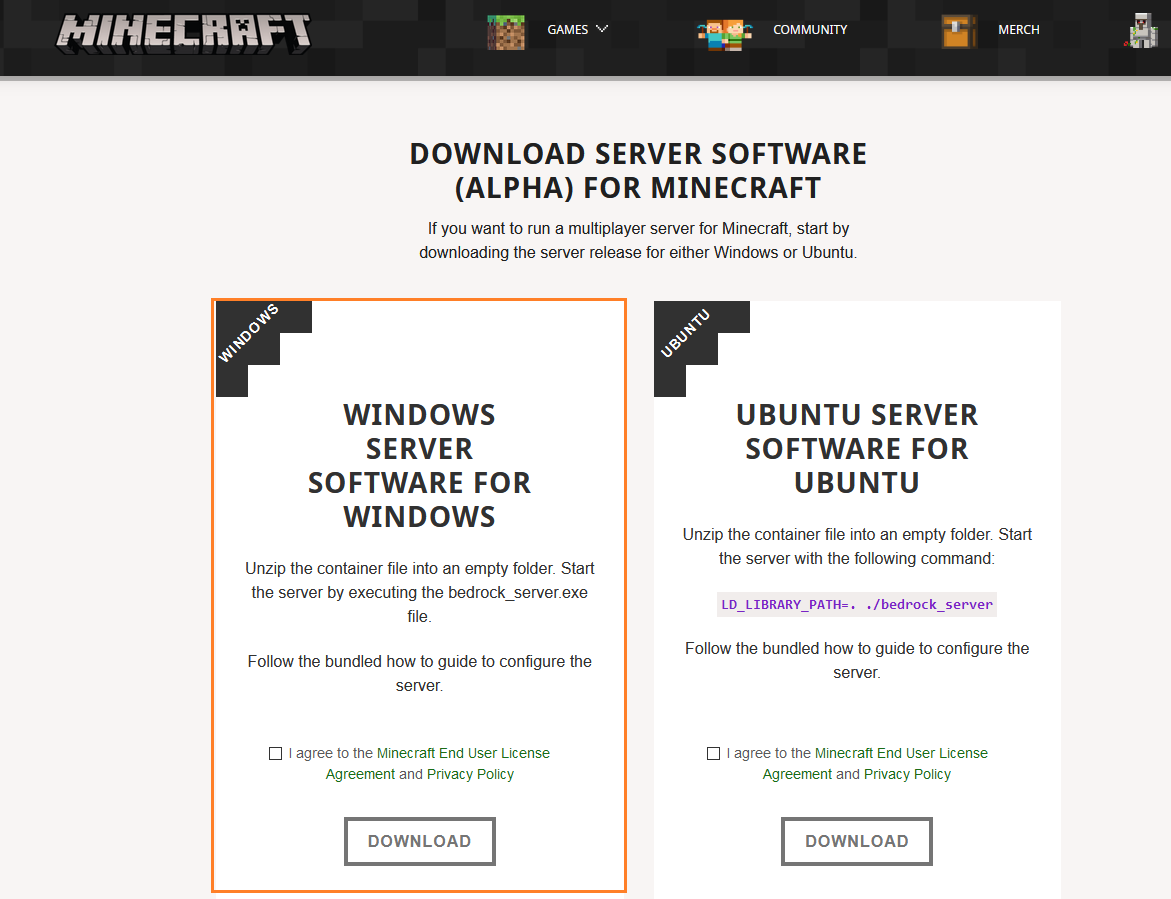
To download the Minecraft Bedrock executable file, please click on the following link https://www.minecraft.net/en-us/download/server/bedrock/
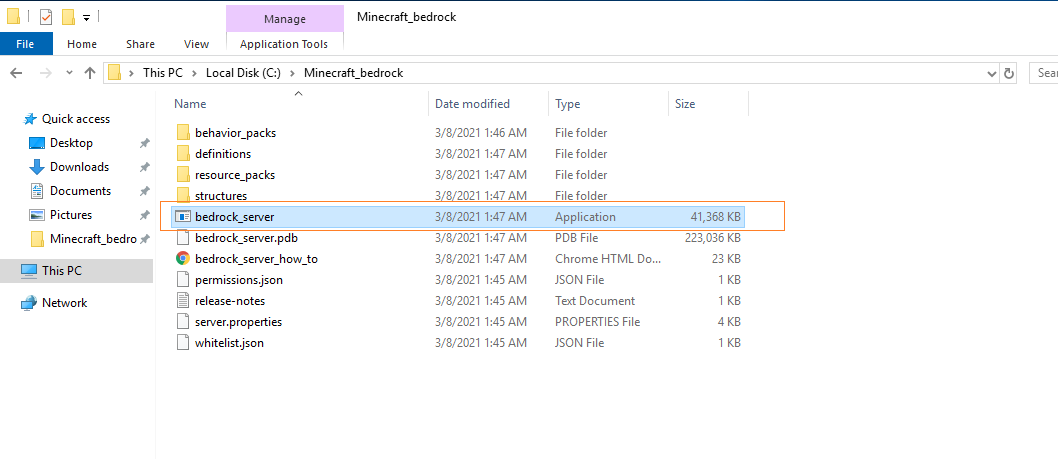
This should take about a few seconds. When done, extract the content of the zipped file and copy them under the folder name c:/Minecraft_Bedrock
Note: you can name the folder as per your convenience and choose to save it under any other drive location. For demonstration purposes, I have chosen C:/ location.
Running Minecraft Bedrock
Go to the folder where you have copied all the game files. Click on bedrock_server.exe to run the game server.
In case you encounter "MSVCP140.dll" missing error, please download the file from the following link https://www.dll-files.com/msvcp140.dll.html
You may also encounter the following error "VCRUNTIME140.dll" missing. This means you will have to download and install Visual C++ by Microsoft.
Please download the same from the following link https://www.microsoft.com/en-us/download/details.aspx?id=52685
Once you have installed and fixed the missing files error, double click on the bedrock_server.exe to run the server.
Output
[2021-03-08 03:11:58 INFO] Starting Server
[2021-03-08 03:11:58 INFO] Version 1.16.201.3
[2021-03-08 03:11:58 INFO] Session ID 883c54b4-9c30-4590-8e01-ada0cf0c9690
[2021-03-08 03:11:58 INFO] Level Name: Bedrock level
[2021-03-08 03:11:58 INFO] Game mode: 0 Survival
[2021-03-08 03:11:58 INFO] Difficulty: 1 EASY
[INFO] opening worlds/Bedrock level/db
[INFO] IPv4 supported, port: 19132
[INFO] IPv6 supported, port: 19133
[INFO] IPv4 supported, port: 59656
[INFO] IPv6 supported, port: 59657
[INFO] Server started.
Congratulation!! You have successfully launched the Minecraft Bedrock server.
Configuring Game
The server reads a file named server.properties. Some of these options are only read when a new world is created, while others are read every startup.
Some of the basic configurations are as follows
- gamemode: By default, this is always set to “survival” mode, but you can configure it to survival (0), creative (1), or adventure (2).
- difficulty: Your options for setting the difficulty level are peaceful (0), easy (1), normal (2), and hard (3), and it will be set to “easy” by default.
- max-players: You can set any number you want for this, although higher numbers may have an impact on the server’s performance.
- allow-cheats: This can be set to “true” or “false”, and is used to control the ability of all players on the server to use cheat commands.
Please note that you’ll need to restart your server once you’ve made changes to the properties file, in order for them to take effect.
Other available options
|
Option name |
Possible values |
Default value |
When is it used |
Notes |
|
gamemode |
survival (0), creative (1), adventure (2) |
survival |
Always or only for new players |
|
|
difficulty |
peaceful (0), easy (1), normal (2), hard (3) |
easy |
Always |
|
|
level-type |
FLAT, LEGACY, DEFAULT |
DEFAULT |
World creation |
|
|
server-name |
Any string |
Dedicated Server |
Always |
This is the server name shown in the in-game server list. |
|
max-players |
Any integer |
10 |
Always |
The maximum numbers of players that should be able to play on the server. Higher values have performance impact. |
|
server-port |
Any integer |
19132 |
Always |
|
|
server-portv6 |
Any integer |
19133 |
Always |
|
|
level-name |
Any string |
level |
Always |
The name of level to be used/generated. Each level has its own folder in /worlds. |
|
level-seed |
Any string |
|
World creation |
The seed to be used for randomizing the world. If left empty a seed will be chosen at random. |
|
online-mode |
true, false |
TRUE |
Always |
If true then all connected players must be authenticated to Xbox Live. Clients connecting to remote (non-LAN) servers will always require Xbox Live authentication regardless of this setting. If the server accepts connections from the Internet, then it's highly recommended to enable online-mode. |
|
white-list |
true, false |
FALSE |
Always |
If true then all connected players must be listed in the separate whitelist.json file. See the Whitelist section. |
|
allow-cheats |
true, false |
FALSE |
Always |
|
|
view-distance |
Any integer |
10 |
Always |
The maximum allowed view distance. Higher values have performance impact. |
|
player-idle-timeout |
Any integer |
30 |
Always |
After a player has idled for this many minutes they will be kicked. If set to 0 then players can idle indefinitely. |
|
max-threads |
Any integer |
8 |
Always |
Maximum number of threads the server will try to use. |
|
tick-distance |
An integer in the range [4, 12] |
4 |
Always |
The world will be ticked this many chunks away from any player. Higher values have performance impact. |
|
default-player-permission-level |
visitor, member, operator |
member |
Always |
Which permission level new players will have when they join for the first time. |
|
texturepack-required |
true, false |
FALSE |
Always |
If the world uses any specific texture packs then this setting will force the client to use it. |
|
content-log-file-enabled |
true, false |
FALSE |
Always |
Enables logging content errors to a file. |
|
compression-threshold |
An integer in the range [0-65535] |
1 |
Always |
Determines the smallest size of raw network payload to compress. Can be used to experiment with CPU-bandwidth tradeoffs. |
|
server-authoritative-movement |
true, false |
TRUE |
Always |
Enables server authoritative movement. If true, the server will replay local user input on the server and send down corrections when the client's position doesn't match the server's. Corrections will only happen if correct-player-movement is set to true. |
|
player-movement-score-threshold |
Any positive integer |
20 |
Always |
The number of incongruent time intervals needed before abnormal behavior is reported. In other words, how many times a player does something suspicious before we take action. Only relevant for server-authoritative-movement. |
|
player-movement-distance-threshold |
Any positive float |
0.3 |
Always |
The difference between server and client positions that needs to be exceeded before abnormal behavior is registered. Only relevant for server-authoritative-movement. |
|
player-movement-duration-threshold-in-ms |
Any positive integer |
500 |
Always |
The duration of time the server and client positions can be out of sync (as defined by player-movement-distance-threshold) before the abnormal movement score is incremented. This value is defined in milliseconds. Only relevant for server-authoritative-movement. |
|
correct-player-movement |
true, false |
FALSE |
Always |
If true, the client position will get corrected to the server position if the movement score exceeds the threshold. Only relevant for server-authoritative-movement. We don't recommend enabling this as of yet; work is still in progress. |
We hope you have found this guide helpful and could successfully deploy Minecraft Bedrock on your Windows 19 Server edition server. Minecraft Bedrock is an early release which mean it doesn't provide complete support yet. It might contain issues and it can stop support at any time.
Please click on the up-vote button to show your appreciation.