
Psychz - Sharad
Votes: 0Posted On: Apr 10, 2017 03:16:12
SolusVM Slave Setup
PREREQUISITES
- A dedicated server with supported hardware virtualization.
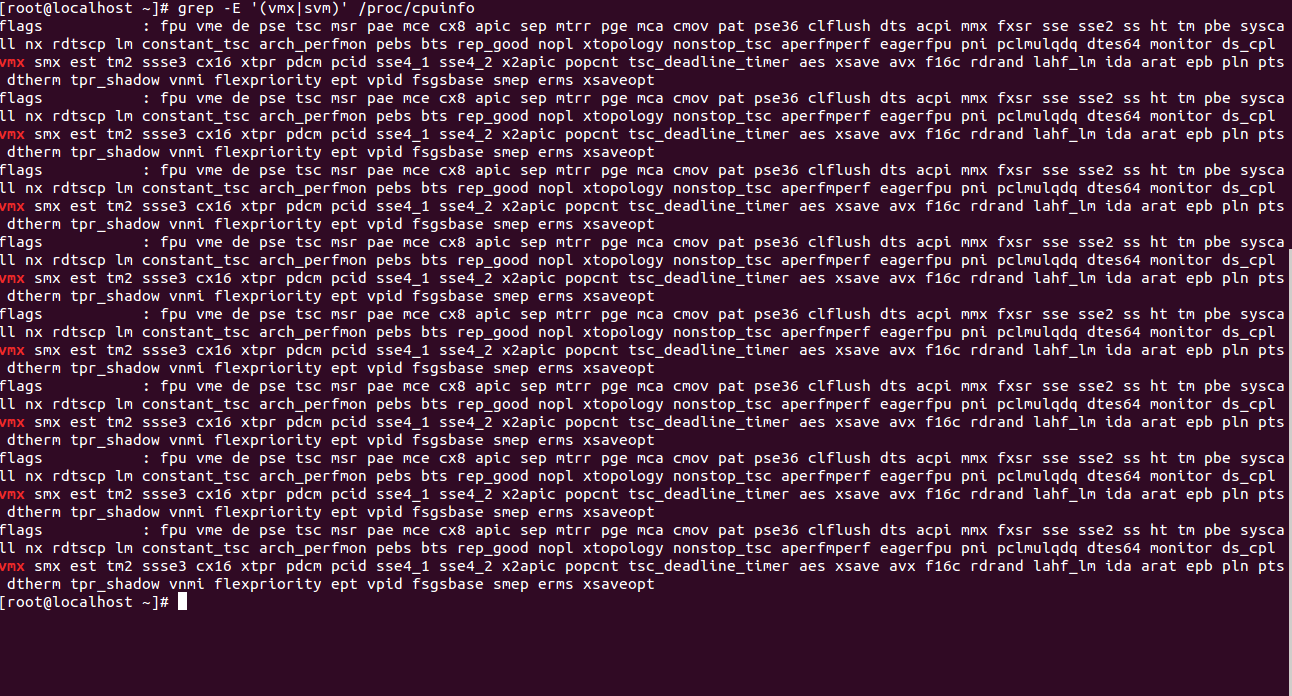
To check whether your system supports hardware virtualization, run the following command:
grep -E '(vmx|svm)' /proc/cpuinfo
If the output shows “vmx” or “svm” the CPU supports virtualization. Here's a sample output for your better understanding.
To create a VPS you need to partition the disk with certain specifications at the time of Operating System installation. These specifications are mentioned below.
# Boot = 1 GB
# swap = 6 GB
# / = 100 GB
The rest of the space is left out for the creation of Volume Group (VG).
Centos 7.x 64 bit operating system with Logical Volume Manager installed. The operating system should not contain any other control panel or a previous version of SolusVM. You can install the logical volume manager by the following command.
yum install lvm2
- An empty logical Volume Group
The Logical Volume group created should have enough space as it is used later by SolusVM.
LOGICAL VOLUME CREATION
Once the OS is installed in the system with the required specifications, we create a logical volume which the SolusVM uses to create VPS afterwards. The following steps will guide you to create logical volume.
- Selecting the physical volume
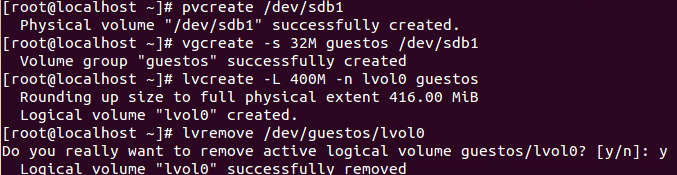
You need to choose the physical volume in which you want to create LVM. Be sure that the physical volume chosen should have enough memory as the VPS will be created in it. You can choose the physical volume by the following command.
pvcreate /dev/sdb1
Here we have chosen “sdb1” as the physical volume. But you can choose as per your specifications. You can check the status of physical volume by “pvscan” and “pvdisplay” commands.
Once the physical volume is selected, we can create volume groups from these physical volumes. Volume groups are nothing but storage groups consisting of one or more physical volumes. You can create a volume group by the following command.
vgcreate -s 32M guestos /dev/sdb1
Here we have created a volume group named “guestos” with size 32 MB in directory “/dev/sdb1”.
(Note: The Volume Group name cannot be KVM as directory /dev/kvm/ is created during installation of SolusVM. You should also try to avoid “underscore")
You can see the status of the volume group by “vgdisplay” command.
We create an logical volume to check the proper working of VG setup.
lvcreate -L 400M -n lvol0 guestos
In the above command, we create a logical volume of size 400 MB only with name “lvol0” in volume group guestos just to check the proper functioning of volume group. Later, we remove the logical volume by “lvremove” command.
lvremove /dev/guestos/lvol0
SolusVM Installation
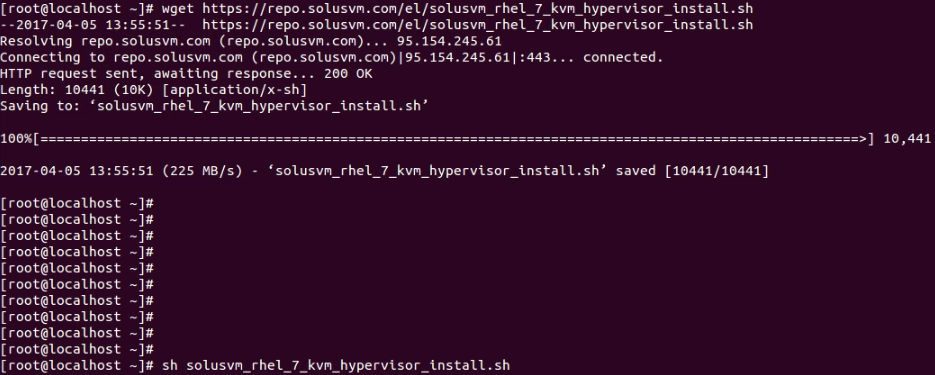
Run the following commands to install SolusVM on Centos7.
wget https://repo.solusvm.com/el/solusvm_rhel_7_kvm_hypervisor_install.sh
sh solusvm_rhel_7_kvm_hypervisor_install.sh
A sample screenshot is attached for your reference.
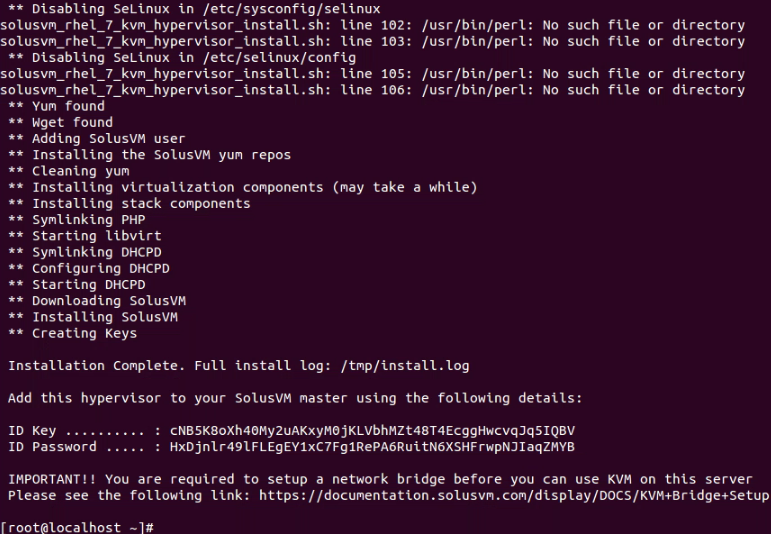
Now your SolusVM slave is created with an ID key and password. You can add this node to your SolusVM master using this ID.
Before adding the node created to the SolusVM master you need to disable the “firewalld” service and enable iptables instead.
Run the following commands to do so.
systemctl disable firewalld
systemctl stop firewalld
yum install iptables-services
systemctl start iptables
systemctl start ip6tables
systemctl enable iptables
systemctl enable ip6tables
NETWORK BRIDGE SETUP
The next step in the installation is to setup a dedicated network bridge. In the server that we are using the network interface is “eno1”. Although, it could be different for other servers.
rpm -q bridge-utils
Yum install bridge-utils

cp /etc/sysconfig/network-scripts/ifcfg-eno1 /etc/sysconfig/network-scripts/backup-ifcfg-eno1
touch /etc/sysconfig/network-scripts/ifcfg-br0
NAME=br0
TYPE=Bridge
BOOTPROTO=static
IPADDR=45.34.41.202
PREFIX=29
ONBOOT=yes
NAME=eth0
HWADDR=00:27:0E:09:0C:B2
IPV6INIT=yes
IPV6_AUTOCONF=yes
IPV4_FAILURE_FATAL=yes
IPV6_FAILURE_FATAL=no
IPV6_DEFROUTE=yes
UUID=7d444b36-6316-401f-9d6c-ddb918e31440
IPV6_PEERDNS=yes
IPV6_PEERROUTES=yes
DNS1=8.8.8.8
ONBOOT=yes
BRIDGE=br0
/etc/init.d/network restart


